For my wedding I decided to make all of my flowers out of fabric. Yes, this includes bouquets, corsages and boutonnieres. When it came time to making the boutonnieres I just couldn't find a tutorial that was aimed at what I wanted to do. I dedicate this tutorial to all the DIY brides out there that want to make their own boutonnieres for their wedding.
This tutorial has multiple parts on how to make a fabric rose boutonniere: how to make the stem, the flower, the greenery for the flower and how to wrap the stem with ribbon to make it all pretty!
Items you need:
low heat glue gun
pliers
iron
needle and thread
two 11" squares of satin
25" of 7/8" ribbon
12" of 3/8" ribbon
floral tape
18" floral stem wire (gauge doesn't matter)
green cotton fabric scraps
fusible interfacing scraps
Let's start by making the stem. Start with your floral wire and fold it in half. You will get a loop on one end.
Using your pliers pinch the loop closed.
Fold the wire in half again. This time you will have two loops. Close them both with the pliers. Set aside.
Now it's time to make the flower. Cut your fabric into two 11" squares. Lay the fabric on top of each other with right sides together and wrong sides out. I used Baroque satin for these flowers.
Pin your two pieces together in a spiral pattern.
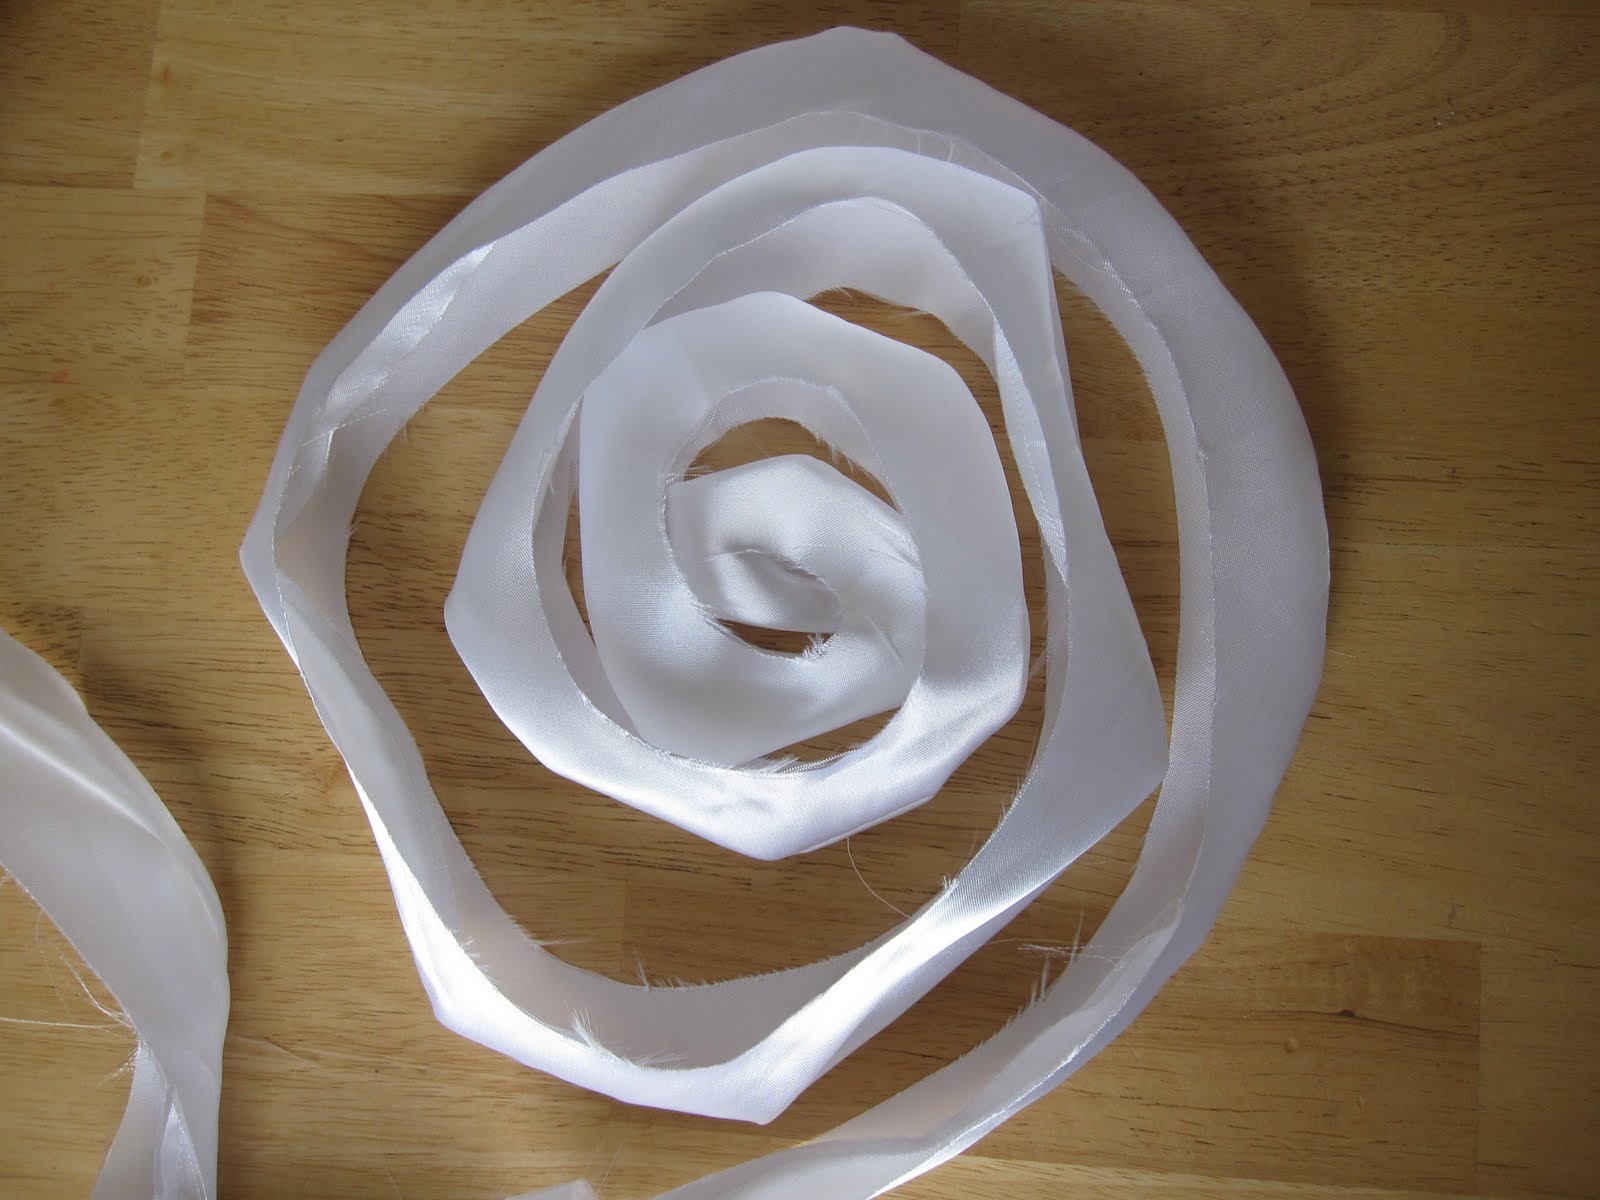
Cut the corners off the square so you have a circle. Next, cut in between your pins so that you end up with a fully-pinned fabric spiral.
Starting in the center of your spiral, sew along the outer edge of your fabric spiral with a quarter inch seam allowance.
Turn your spiral right sides out.
Let's put the stem and the flower together! Get the hot glue gun and put a drop of hot glue on one end of the wire. Pick up your spiral and put the hot glued end of the wire inside the center of the spiral. This acts as a cover so the end of the wire won't be sticking out.
Beginning at the inner spiral, start rolling up your fabric around the end of the floral wire. As you roll up your spiral to form a rose, add drops of hot glue to the fabric base to keep it in place. You can sew the rose together with anchor stitches as you go, but I found that hot glue holds the flower together better.
When you have your desired rose size, cut off the remaining spiral fabric and glue the end down.
Next, I anchor the bottom together with stitches. This helps pull the fabric together to really give it a rose shape. It doesn't have to be perfect because no one will see the bottom.
At this point you have your flower attached to your stem. I like to trim off any extra frayed fabric on the bottom of the flower. It will help make it easier when adding the greenery to the flower.
Next, take your floral tape and wrap it around the floral wire. Set aside.
Moving onto how to make the greenery...Let me preface the step by saying that when I make the leaves, I like to stiffen the green cotton fabric with interfacing because I like to work with a stiffer cotton fabric. You can always use green canvas as an alternative.
Take your fusible interfacing and sandwich it in between two scraps of green fabric. Iron the fusible interfacing between the fabrics.
From this green fabric cut out a circle for the bottom of the flower as well as leaves. You can make the leaves any size or style you want. The picture below is what I chose to make for these flowers. I can't say I precisely measured the size of the circle or the leaves, I just eyeballed it, but for those that need measurements:
circle: 1" - 1 1/2" in diameter
leaves: 1 1/2" - 2" tall by 3/8" wide
Fold the circle in half and cut a slit in the middle of the circle. Slide it on the stem so it is on the bottom of the flower. Hot glue the green circle to the flower.
Next, glue your leaves to the bottom and sides of the flower. Make sure you cover up where the fabric ends on the flower with a leaf. At this point you have a completed flower! Now to make it fancy!
Take your 7/8" ribbon and hot glue one end of the ribbon. Attach the hot glued end of the ribbon to the top of the stem.
Wrap the ribbon to the bottom of the stem and then wrap it back up to the top of the stem.
Hot glue the end of the ribbon to the top of the stem.
Take the 3/8" ribbon and tie a bow at the top of the stem. Now you have a beautiful boutonniere for your groom/groomsmen/usher/etc!
If you need to make a large amount of boutonnieres like I did (I needed to make 7), you need one yard of 45" wide fabric to make 6 flowers.