Sunday, February 26, 2012

Wedding Flowers

We got our wedding photos from our photographer last week and they turned out beautifully! I'm super excited to have lots of photos of the flowers I made! For those of you who don't remember, I made all the flowers for our wedding. As I researched the cost of wedding flowers I was floored at how ridiculous they cost. So I thought and got on Google and decided that I just needed to make the flowers. It really wouldn't be like me to have cut flowers anyways. I made my bouquet, 2 bridesmaids bouquets, wrist corsages and boutonnieres. After much trial and error I'm more than happy with the result of making them. 


Anyone who is on the fence about making their own flowers, I highly recommend it. They not only will be easily preservable, but they are really unique and a great conversation piece. Major sewing skills aren't necessary. Anyone with an ounce of creativity (or a creative friend) can make their own flowers. However if you are planning on taking on this project I have a few suggestions:

  1. Get on Google and look at lots of photos of flowers to see what you want to imitate. I settled with white and ivory flowers because it worked with our wedding colors (navy, white and silver). 
  2. Be prepared for trial and error. Just because you found 6 great flower tutorials online doesn't mean that when you combine those flowers together in a bouquet they are going to look good. 
  3. Don't be afraid of fabric! I hate working with satin fabrics and organza. They fray and slip when you try to cut them, but I sucked it up and in the end they really brought great textures to my bouquet. If you want to make a bouquet with color definitely experiment with different fabrics until you find something you love. 
  4. Learn to love your zippo lighter. I don't know how long I spent burning the edges of fabric to give them the appearance of petals! 
  5. When you are ready to put all your flowers together in a bouquet, get back on Google and look at how bouquets are wrapped. I looked at lots of floral sites until I decided on what I wanted to do. 
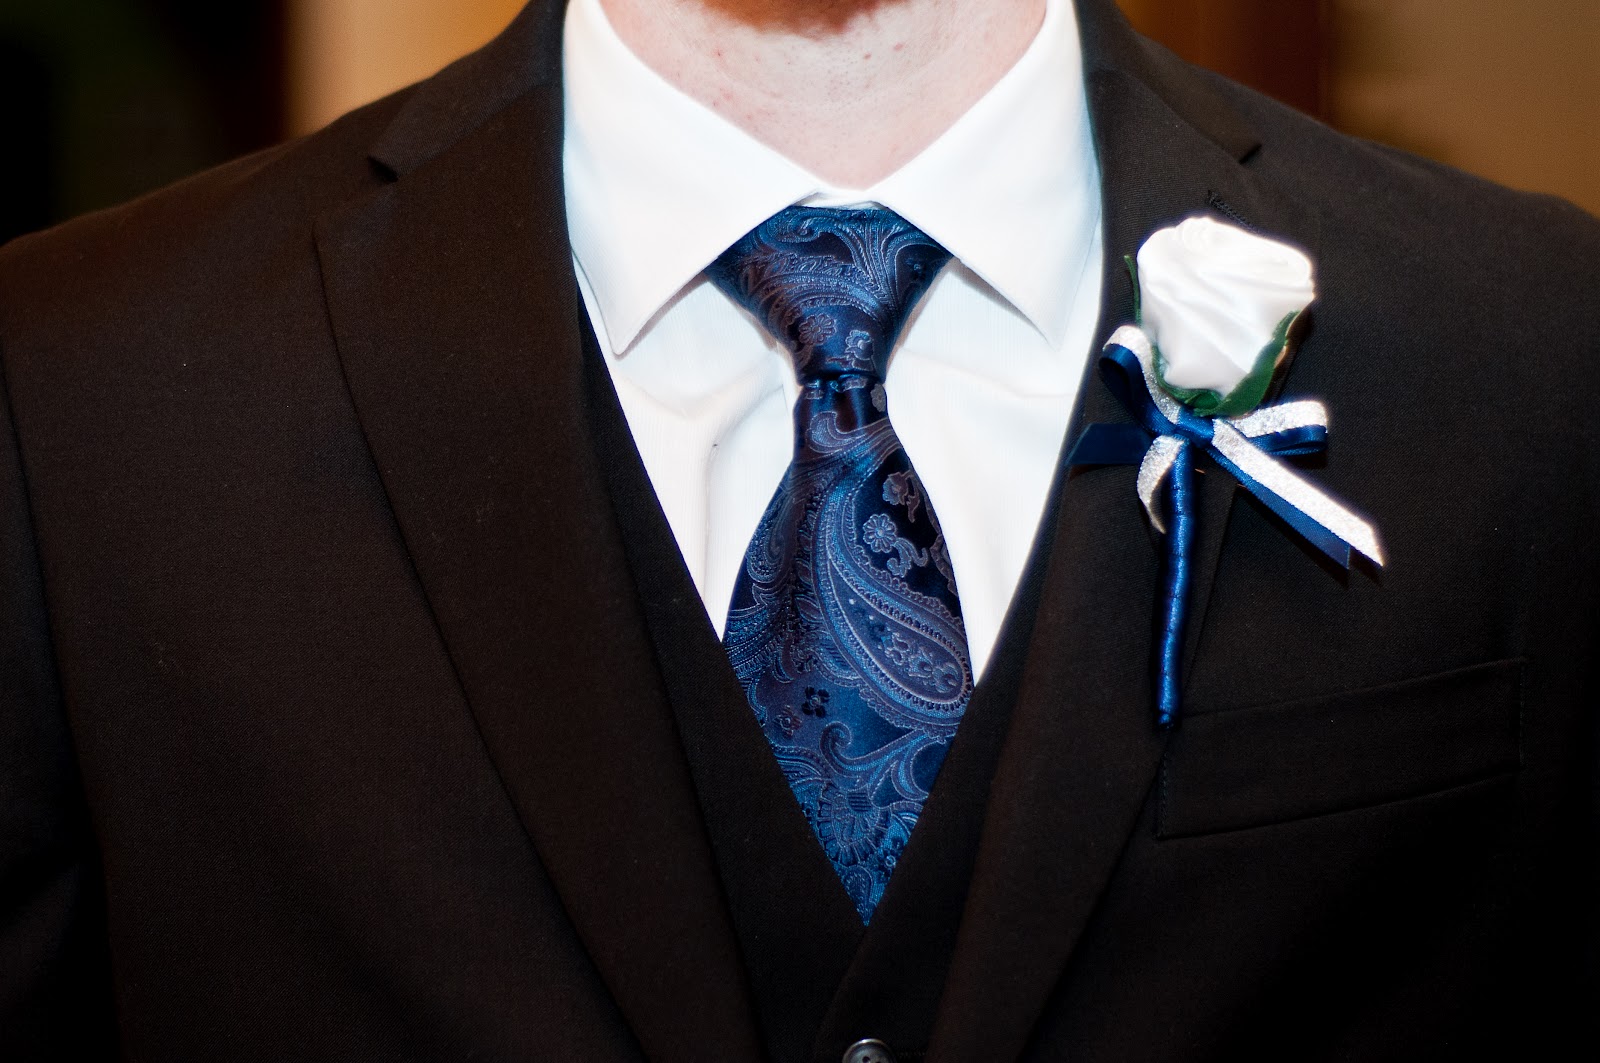
  6. If you are doing bouquets, corsages and boutonnieres, don't kill yourself. I won't lie. It's a lot of work. However, make some easy flowers! The wrist corsages were super easy and a breeze to make! My tutorial for the boutonnieres can be found here

All wedding photos by Kelly Miranda Photography


Tuesday, February 21, 2012

Saturday, February 18, 2012

Sunday, February 12, 2012

Baby Gifts

Costumes have been competed for Carnaval! I must say they looked really good!!! As the theme to Carnaval this year was the Wizard of Oz, it only made sense that our entire bateria (group of 50 drummers) were dressed as munchkins. This is the first year where the boy drummers and girl drummers really looked like different people. Yes, the ladies were wearing flower pots on their head. Thanks to my wonderful costuming cohorts make this a great costuming hear. 


Now that Carnaval is over, it's baby gift time. I currently know 8 people that are having babies in the next year. That's a lot of gifts! Here is my first round. 

I was really excited to find this book panel at JoAnn Fabrics! 


This is one of my favorite baby quilt panels I have ever found! It measures 45"x36" and I found it at JoAnn Fabrics. My most favorite part is the backing (see below). To quilt the back and front together I followed the outline of each animal. This made it very easy to complete and did not take away from the design of the panel. 


Tuesday, January 10, 2012

Completed!

Now that the wedding madness is over I finally have time to come back and blog a bit. The t-shirt quilt I have been working on is finally finished! Now I'm buried in shiny blue fabric to get costumes for the samba school done. 

Thursday, December 1, 2011

Back in Action!

Now that both my sewing machine and I are back from Thanksgiving vacation it's time to get sewing! I finally finished my batiked potholders!


The quilt top to the t-shirt quilt is also finished. Now it's time to quilt it! 


Sunday, November 13, 2011

Thinking on My Feet

I started working on a free motion landscape project. Remember the hand-dyed fabric? Well, I added a windmill. 


After I added the windmill, I looked at the stitching and notice that my straight stitch was more of a zig-zag stitch. I played with all the settings on my machine and came to the realization that it was time to take the machine in for a tune-up. Of course, this was a hard realization for me since I was starting a free motion project and am still working on the t-shirt quilt. 

I took machine in on Saturday morning as soon as they opened and I was told that it will take about 2 weeks to get my machine back. TWO WEEKS!? What!? But I have a quilt to work on and I can't free motion by hand! I've accepted the fact that all projects are on hold at the moment...except the windmill. 

What did I do about the windmill? Well, I reevaluated the situation, went home, and pulled the stitching. I guess it was a blessing in disguise because I found that it was a perfect opportunity to advance my hand embroidery skills. The only embroidery stitching I knew how to sew was a blanket stitch. A blanket stitch is commonly used to reinforce the edges of thick materials, i.e. a blanket. After researching the internet and encouragement from my mom, I embroidered the windmill instead. I am much happier with the final windmill.

I originally had dark brown ground/grass to contrast with the sunset, but after the windmill came out so dark, I had to change the ground/grass to black. 


Here is the final product. I'm incredibly happy with how it turned out. I am in love with the sky!